
Self-driven and passionate, Matthias is focused on delivering innovative and clever solutions through hard work and collaboration. His love for software engineering and creativity allowed him to build unique and immersive experiences. His goal is to keep pushing the boundaries of what web and mobile applications have to offer. When Matthias is not busy engineering and creating the next great thing, he loves to spend his time practicing woodworking, fabrication and mechanical engineering. Working in a digital space, he recognizes the importance of hand crafting in order to stay “connected” to the world around us.
Updated Aug 18, 2023
With the anticipation of the recently announced Apple Vision Pro, developers and companies are eager to start building apps on visionOS. Thankfully, you can already explore the possibilities with Xcode 15 beta.
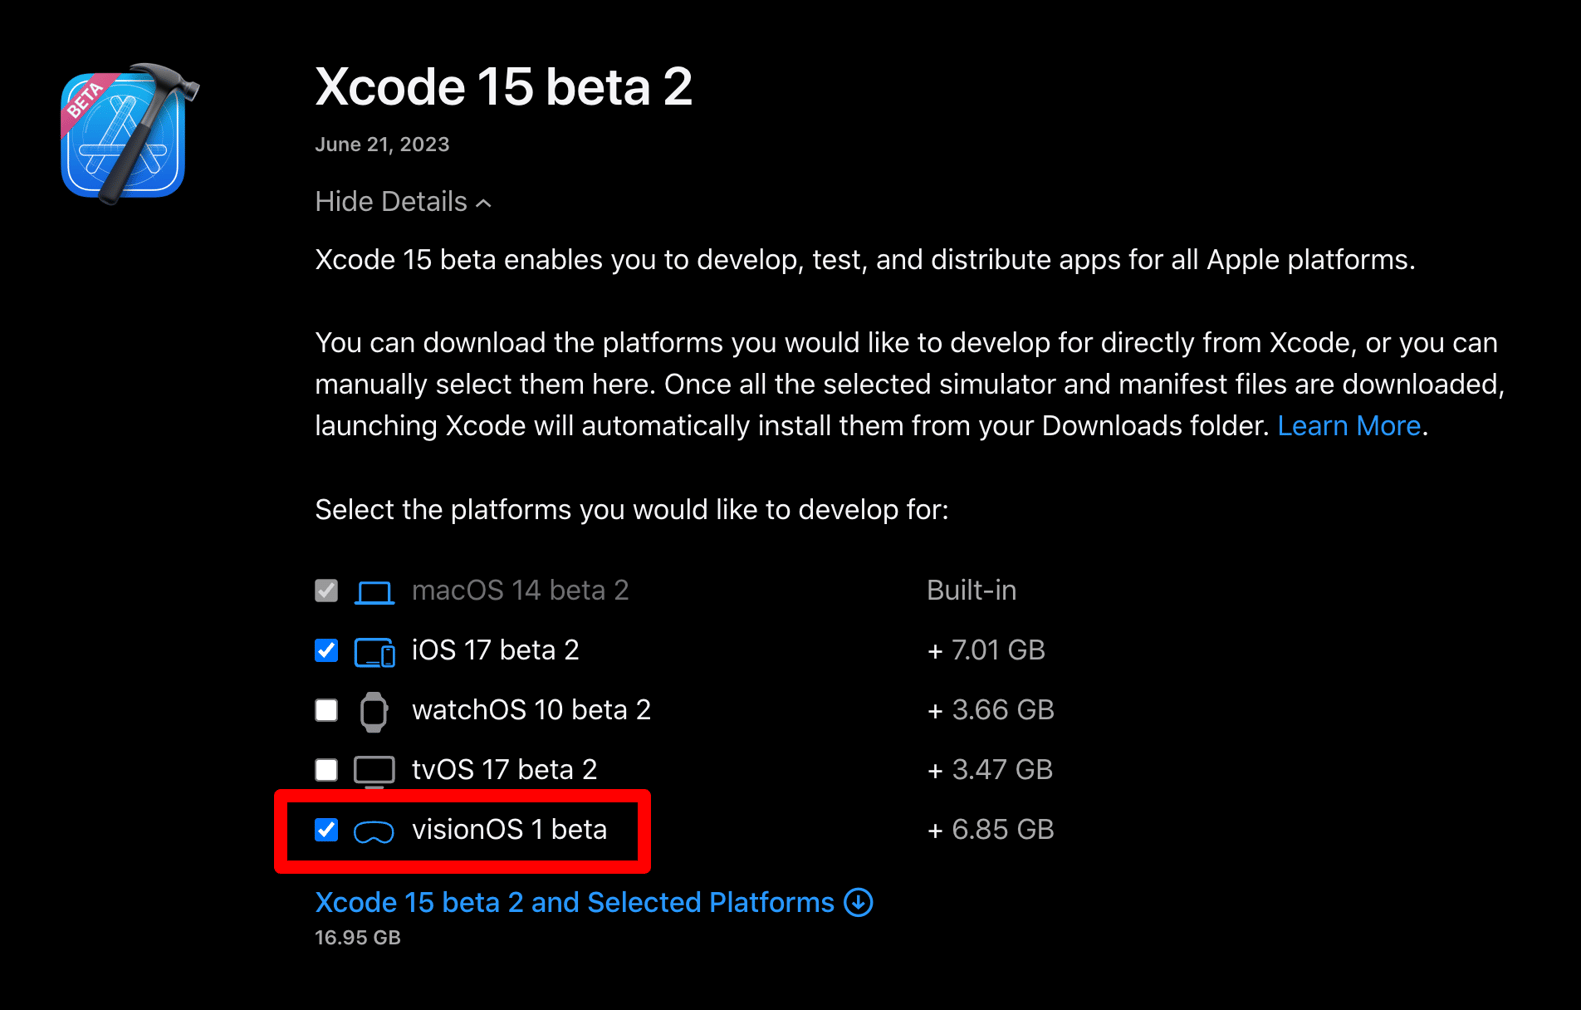
Download and install Xcode 15 (beta) at apple.com. Make sure visionOS is selected.
Create New Project > VisionOS > App

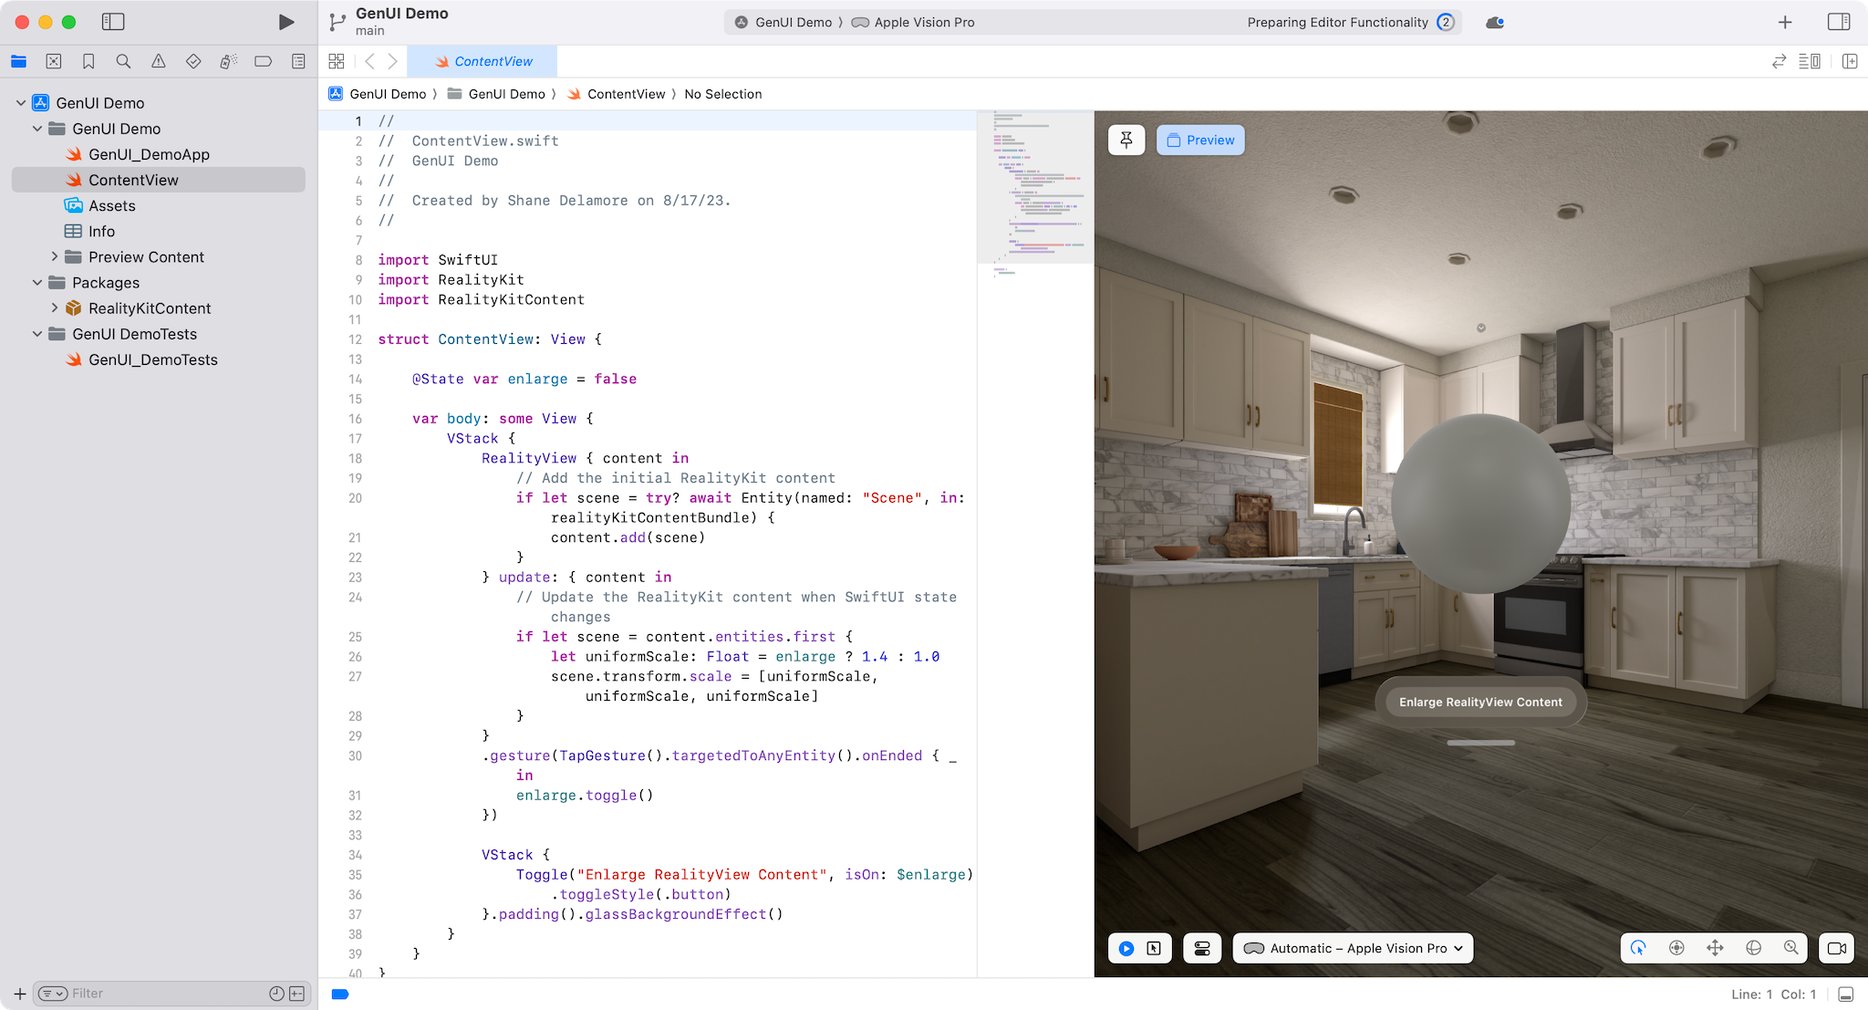
Initial Scene
Change the "Initial Scene" to Volume. If you select Window, your app will have a main glass window behind it.
Immersive Space
Leave the Immersive Space setting alone.
All set! You should be able to see the default preview:
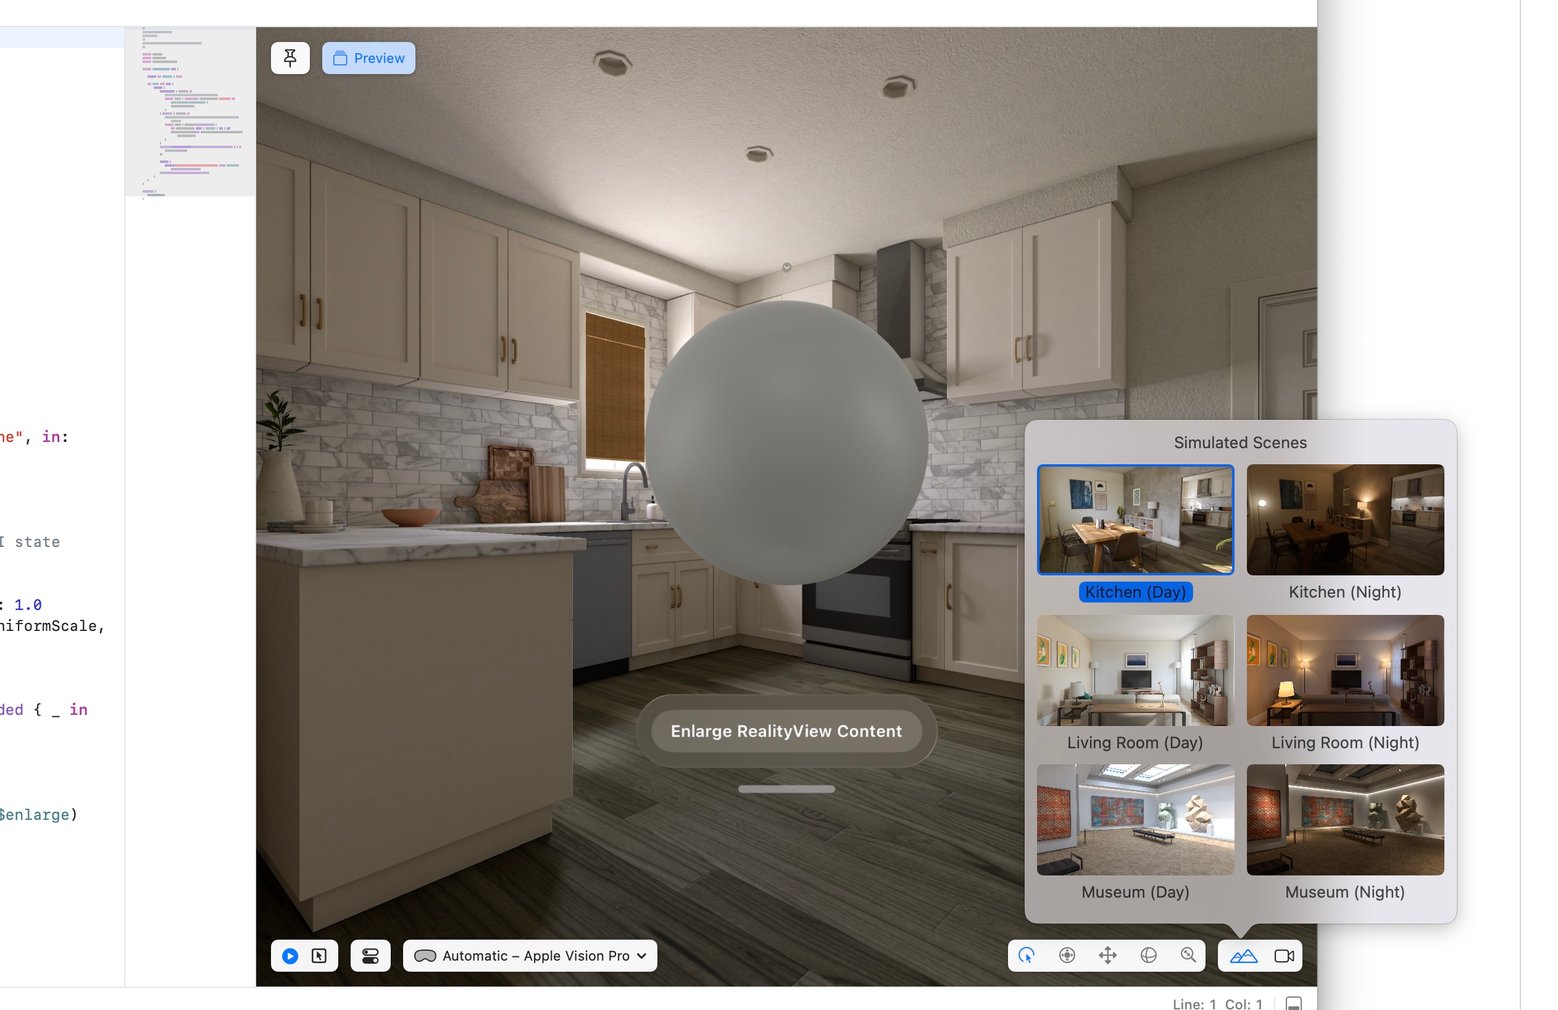
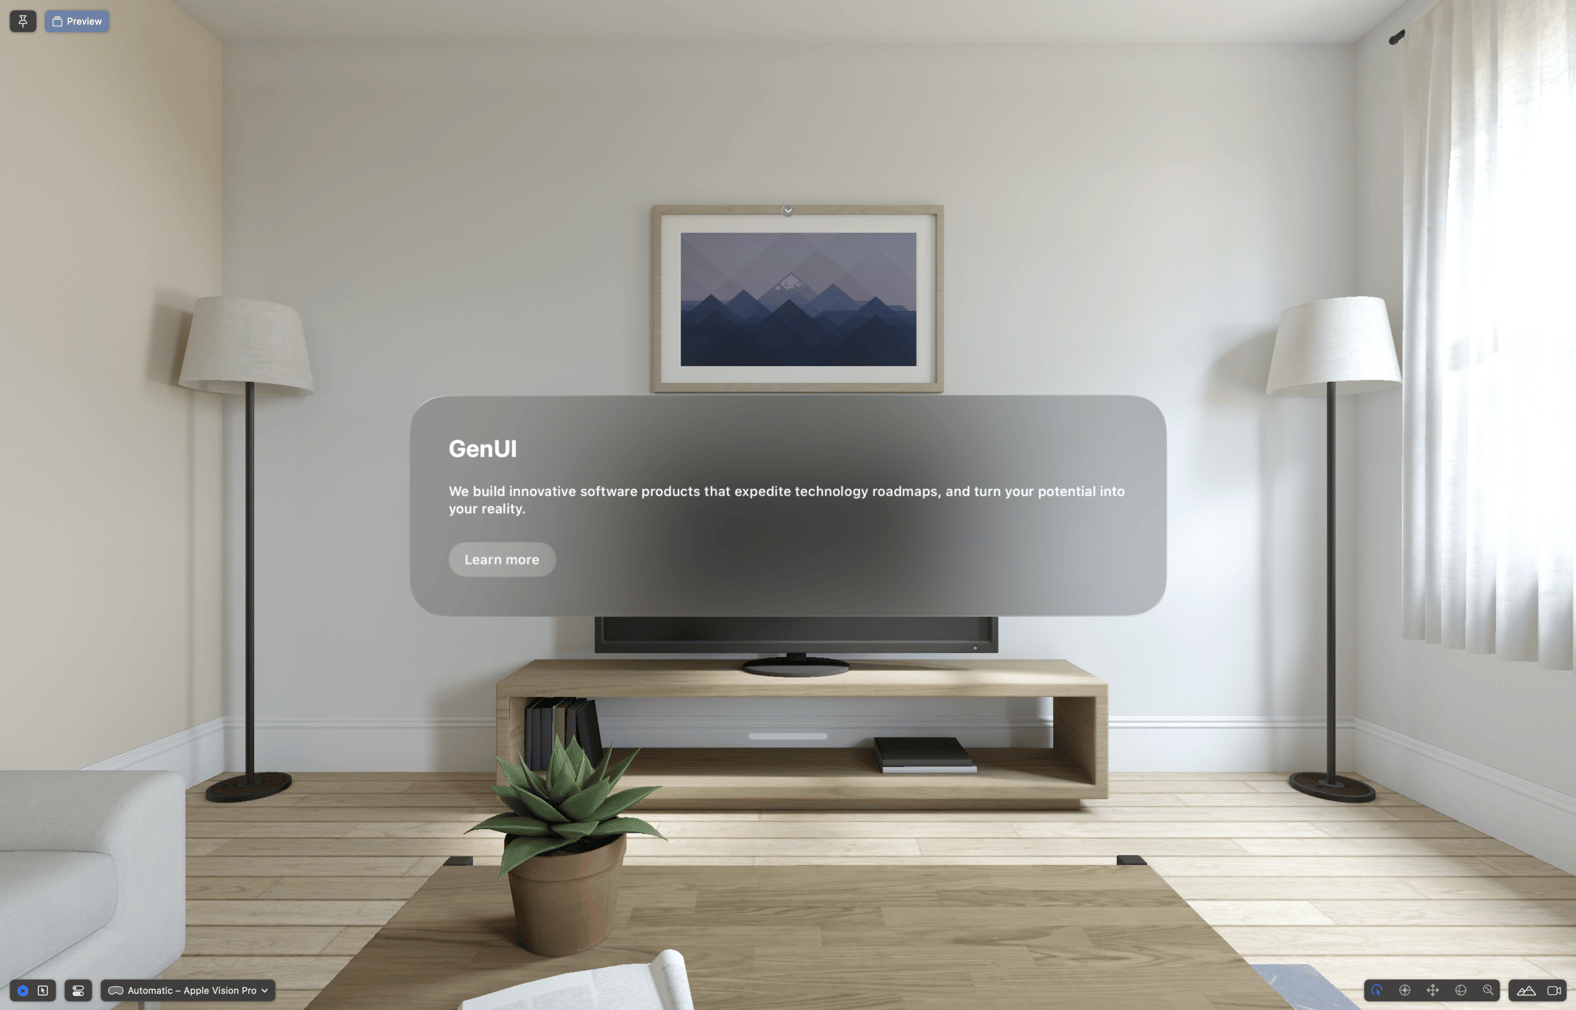
First of all, why stay in the kitchen when we can sit on the couch? Let's move to the living room. There should be a "mountains" icon in the bottom-right of the preview. If not, you may need to make the preview window wider. Click the icon and select the "Living Room (Day)" scene.
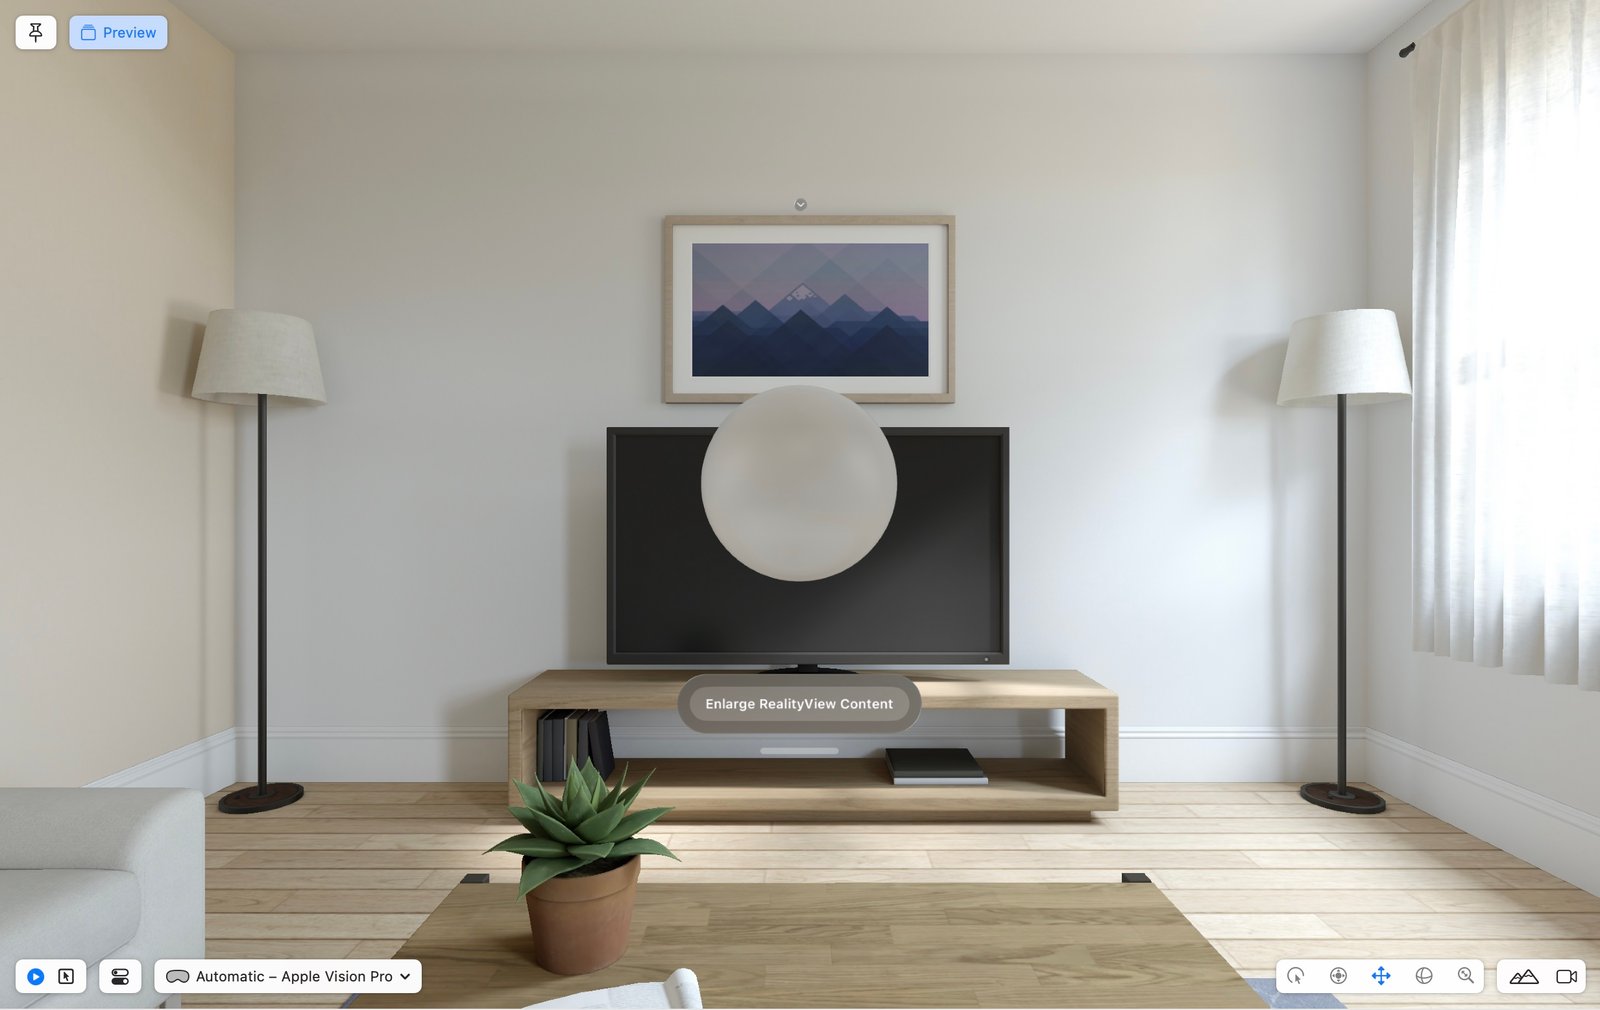
Much better!
Now let's change the demo. First, we will explore how to add a "glass" panel with some content. Then, we will review how to load 3D models to the view.
Let's start with the basics. In order to create the left panel, we add a VStack and style it using glassBackgroundEffect()
import SwiftUI
import RealityKit
import RealityKitContent

struct ContentView: View {
    // ADD THIS LINE
    @Environment(\.openURL) var openURL

    @State var enlarge = false

    var body: some View {
        // REPLACE EVERYTHING IN THE VIEW WITH THIS
        VStack(alignment: .leading) {
            Text("GenUI").font(.largeTitle).padding(.bottom, 20)
            Text("We build innovative software products that expedite technology roadmaps, and turn your potential into your reality.").padding(.bottom, 20)
            Button("Learn more") {
                openURL(URL(string: "https://www.genui.com/")!)
            }
        }
        .padding(50)
        .glassBackgroundEffect()
    }
}

#Preview {
    ContentView()
}
Now let's see how to load a 3D model. For that, we will be using RealityView. I also invite you to learn more about Model3D
import SwiftUI
import RealityKit
import RealityKitContent
struct ContentView: View {
@Environment(\.openURL) var openURL
@State var enlarge = false
var body: some View {
// WRAP CONTENT IN HStack
HStack {
VStack(alignment: .leading) {
Text("GenUI").font(.largeTitle).padding(.bottom, 20)
Text("We build innovative software products that expedite technology roadmaps, and turn your potential into your reality.").padding(.bottom, 20)
Button("Learn more") {
openURL(URL(string: "https://www.genui.com/")!)
}
}
.padding(50)
.glassBackgroundEffect()
// ADD RealityView
RealityView { content in
if let scene = try? await Entity(named: "Scene", in : realityKitContentBundle) {
content.add(scene)
}
}
}
}
}
#Preview {
ContentView()
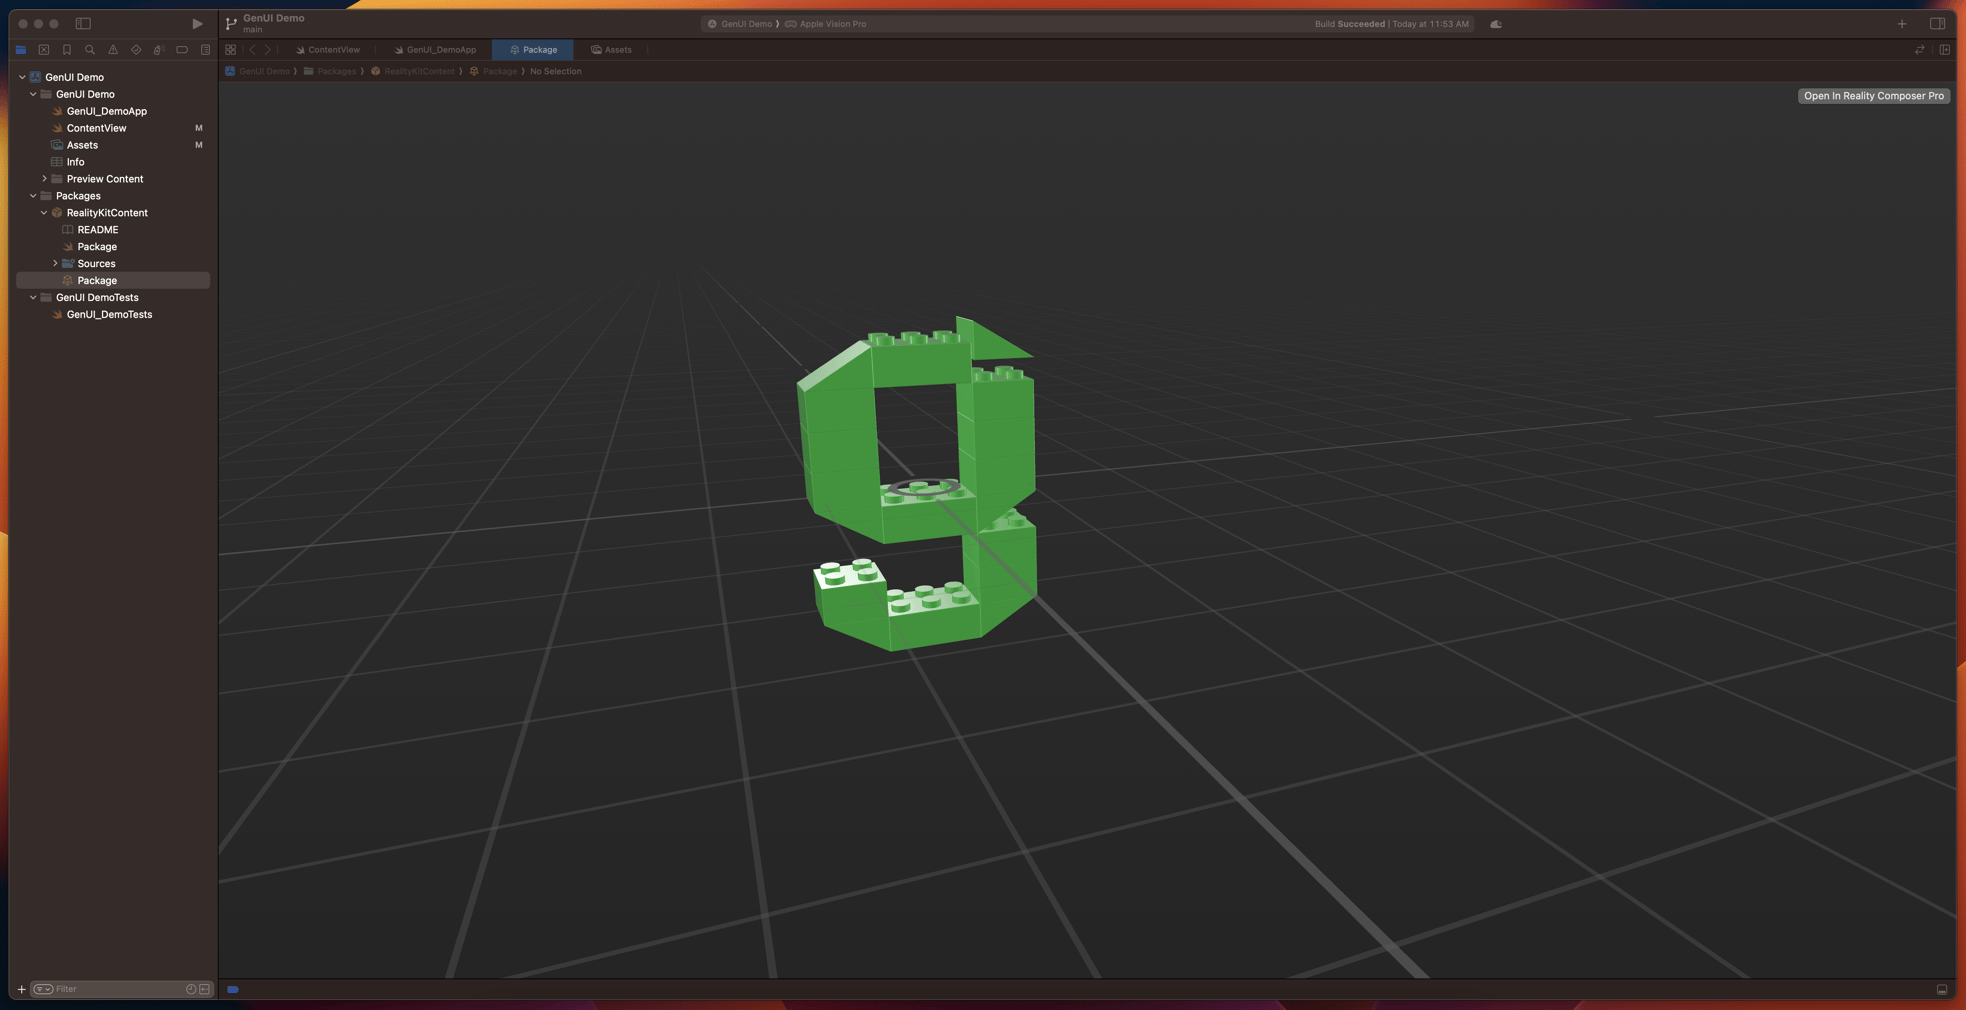
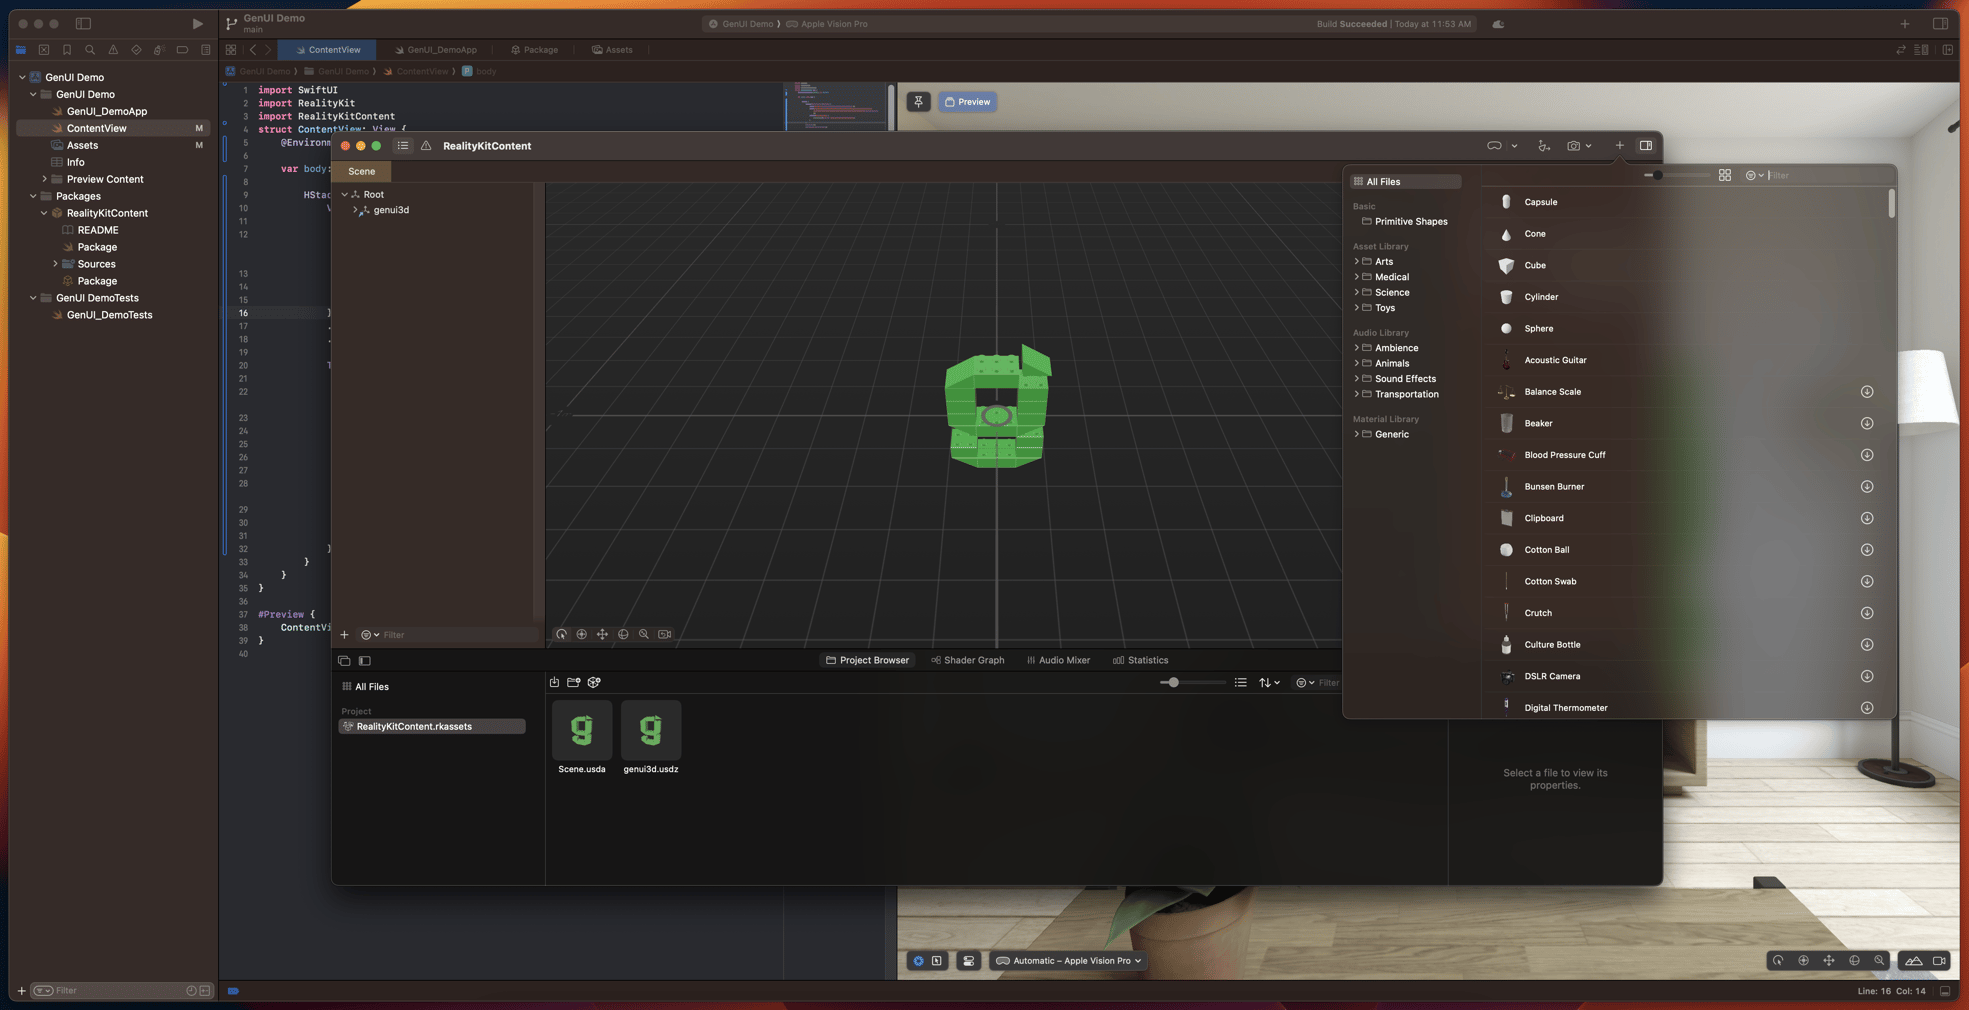
}After making the above change, you will probably recognize the sphere from the initial preview. That's because the model is in the default scene. To change that, we need to open Packages > RealityKitContent with the "Reality Composer Pro" developer tool (Xcode > Open Developer Tools > Reality Composer Pro).
From there, you can import your own .usdz files or download one from the library. Once the file has been added, you can drag it to your scene.
Finally, let's add some movement. To create the rotation, you can wrap the RealityView in a TimelineView and apply a rotation3DEffect
import SwiftUI
import RealityKit
import RealityKitContent

struct ContentView: View {
    @Environment(\.openURL) var openURL

    @State var enlarge = false

    var body: some View {
        HStack {
            VStack(alignment: .leading) {
                Text("GenUI").font(.largeTitle).padding(.bottom, 20)
                Text("We build innovative software products that expedite technology roadmaps, and turn your potential into your reality.").padding(.bottom, 20)
                Button("Learn more") {
                    openURL(URL(string: "https://www.genui.com/")!)
                }
            }
            .padding(50)
            .glassBackgroundEffect()

            // WRAP RealityView WITH A TimelineView AND ADD A .rotation3DEffect
            TimelineView(.animation) { context in
                RealityView { content in
                    if let logo = try? await Entity(named: "Scene", in : realityKitContentBundle) {
                        content.add(logo)
                    }
                }
                .rotation3DEffect(
                    Rotation3D(
                        angle: Angle2D(degrees: 5 * context.date.timeIntervalSinceReferenceDate),
                        axis: .y
                    )
                )
            }
        }
    }
}

#Preview {
    ContentView()
}
And voila!
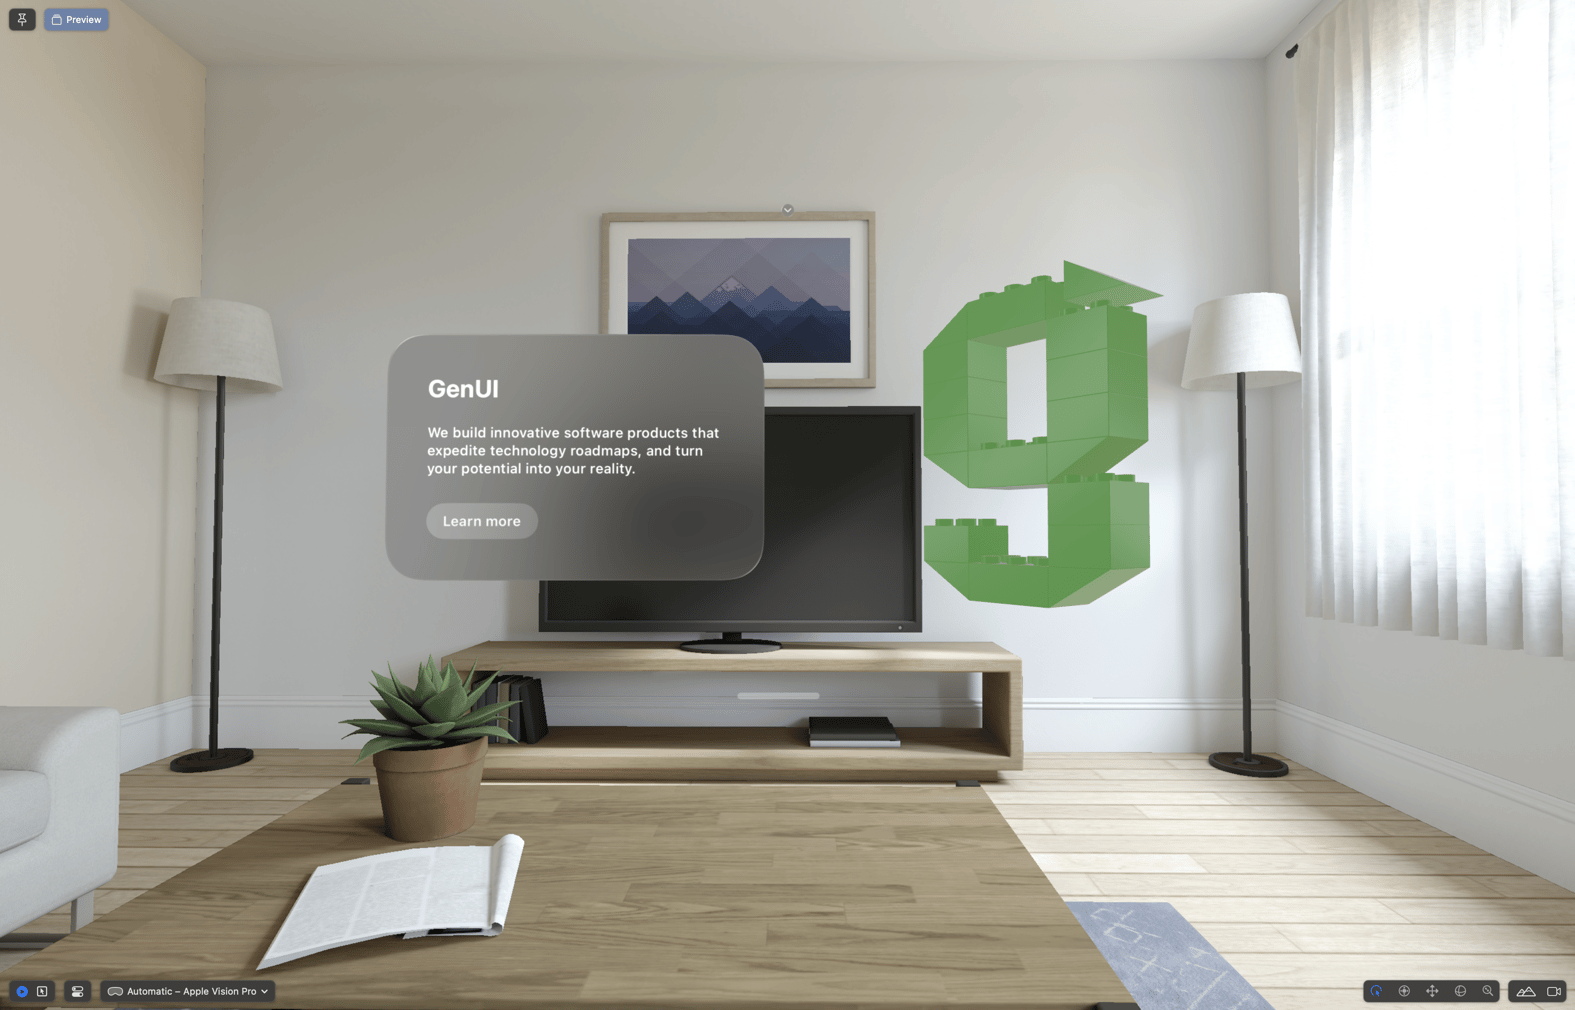
Below is a video of it in action.
In this article we showed how to place some basic elements such as display-text, buttons, glass-backgrounds and 3D models as well as some basic layout options for visionOS. This is just the tip of the ice-berg, but we hope it is helpful getting you started developing your own apps for the VisionPro.
Can we help you apply these ideas on your project? Send us a message! You'll get to talk with our awesome delivery team on your very first call.
 Github
 LinkedIn